آیا تا به حال هنگام بروز رسانی لیستهای مخزن در دسکتاپ Ubuntu 18.04 LTS با خطای E: The package cache file is corrupted, it has the wrong hash روبهرو شدهاید؟ در این مقاله، چگونگی رفع این خطا شرح داده شده است.
این مطلب نیز ممکن است برای شما مفید باشد: رفع خطای do-release-upgrade: command not found در اوبونتو
بیایید سناریوی رخداد این خطا را بررسی کنیم:
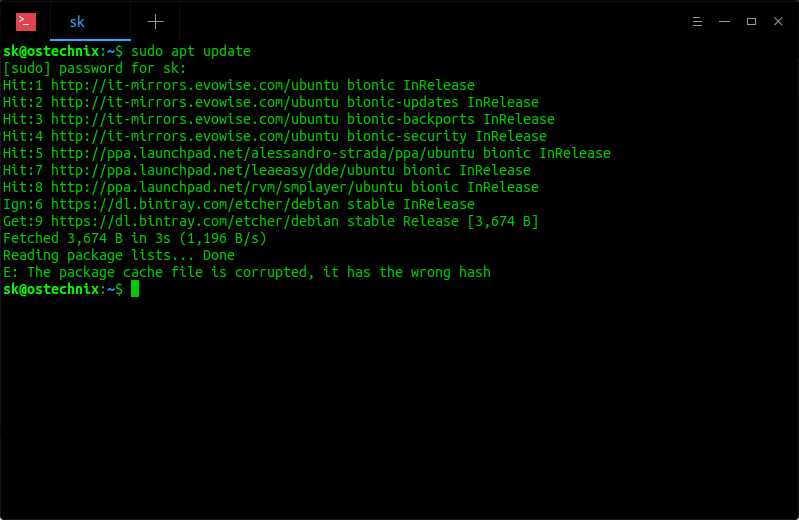
فرض کنید میخواهید، با اجرای دستور زیر، سیستم را به روز نمایید:
$ sudo apt update
در این صورت، نتیجه بروز رسانی به صورت زیر نمایش داده میشود:
Hit:1 http://it-mirrors.evowise.com/ubuntu bionic InRelease
Hit:2 http://it-mirrors.evowise.com/ubuntu bionic-updates InRelease
Hit:3 http://it-mirrors.evowise.com/ubuntu bionic-backports InRelease
Hit:4 http://it-mirrors.evowise.com/ubuntu bionic-security InRelease
Hit:5 http://ppa.launchpad.net/alessandro-strada/ppa/ubuntu bionic InRelease
Hit:7 http://ppa.launchpad.net/leaeasy/dde/ubuntu bionic InRelease
Hit:8 http://ppa.launchpad.net/rvm/smplayer/ubuntu bionic InRelease
Ign:6 https://dl.bintray.com/etcher/debian stable InRelease
Get:9 https://dl.bintray.com/etcher/debian stable Release [3,674 B]
Fetched 3,674 B in 3s (1,196 B/s)
Reading package lists... Done
E: The package cache file is corrupted, it has the wrong hash

به منظور رفع این خطا کافیست، دستور زیر را اجرا کنید.
$ sudo rm -rf /var/lib/apt/lists/*
قبل از اجرای دستور زیر، حتماً دقت نمایید که علامت “*” را در انتها اضافه کرده باشید. اضافه کردن “*” در پایان این دستور بسیار مهم است؛ چراکه اگر آن را اضافه نکرده باشید، با اجرای این دستور، دایرکتوری /var/lib/apt/list حذف شده و راهی برای بازگرداندن آن وجود ندارد.
پس از آن، دوباره سعی کنید، سیستم را با استفاده از دستور زیر به روز نمایید:
$ sudo apt update

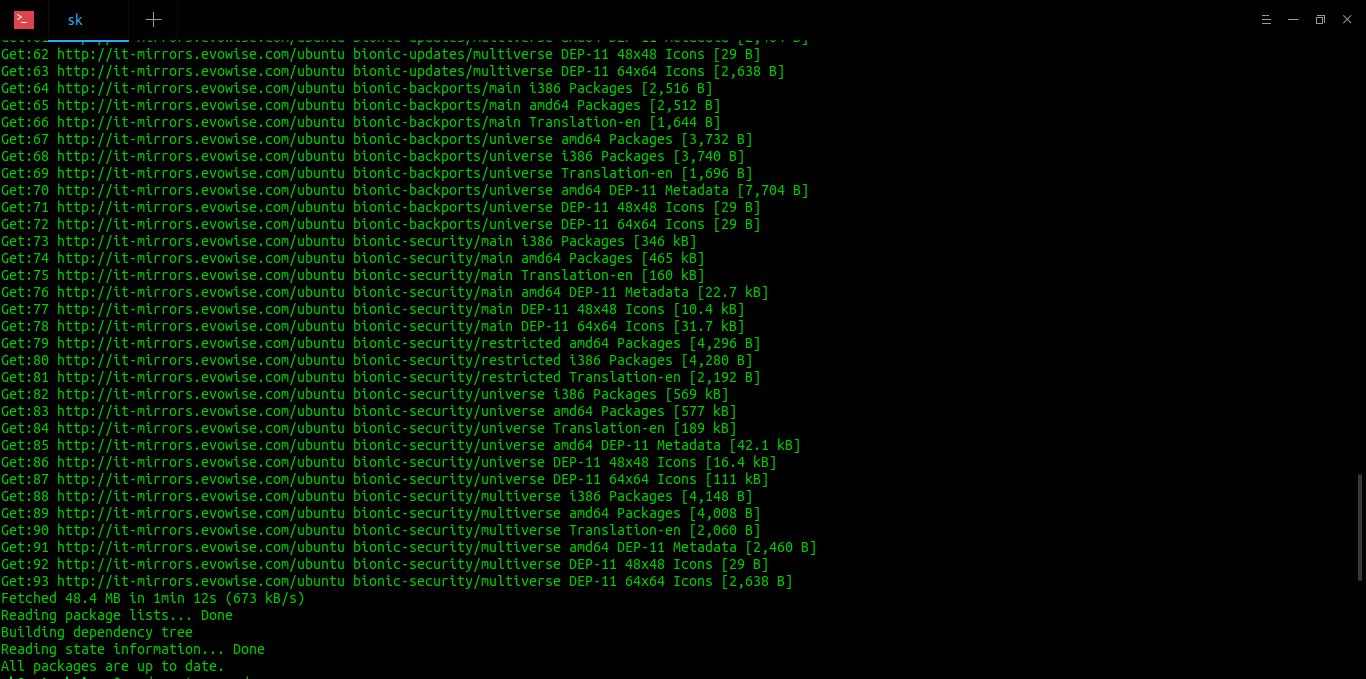
اکنون دیگر نباید با خطای E: The package cache file is corrupted, it has the wrong hash روبهرو شوید.
منبع:
ostechnix
 رمزگذاری دایرکتوری ها با استفاده از eCryptfs در لینوکس
  نصب و پیکربندی Postfix و Dovecot
  مشاهده اطلاعات Metadata تصاویر در لینوکس
  تغییر امتیازات کاربر پایگاه داده در دایرکت ادمین
0 دیدگاه
نوشتن دیدگاه